Homologous Teleoperation Data Collection
This page corresponds to the LeRobot data collection workflow for OpenArmX homologous bimanual teleoperation, supporting both gravity-compensated and non-gravity-compensated teleoperation modes.
🧩 Hardware Checklist
| Device | Quantity | Description |
|---|---|---|
| OpenArmX bimanual robot (follower side) | 1 unit | Execution side, receives teleoperation commands |
| OpenArmX bimanual robot (leader side) | 1 unit | Operation side, manipulated by the operator |
| RealSense D405 | 2 units | Left/right wrist cameras |
| RealSense D435 | 1 unit | Head camera |
| USB 3.0 high-speed hub (>=3 ports) | 1 unit | Ensures camera bandwidth |
| Collection host (industrial PC) | 1 unit | Robot + camera side |
| Gigabit router + gigabit Ethernet cable | 1 each | Dual-host communication (optional for single-host setup) |
If you use a local server for training, you can also receive data directly on that server. You only need both hosts to be on the same Wi-Fi network.
⚠️ Safety Checks Before Collection
- Before starting the bimanual robot, confirm the CAN board is started (blue light solid on)
- Gently move the robot arm to confirm motor resistance is present (enable succeeded)
- Keep away from flammable, explosive, and corrosive hazardous materials
- Keep a safe distance from the robot during collection
1. Start Homologous Teleoperation
1.1 Start CAN
python3 /home/openarmx/openarmx_ws/src/openarmx_motor_manager/scripts/en_all_can.py
Terminal 1: Start the follower-side robot
cd ~/openarmx_ws
source install/setup.bash
ros2 launch openarmx_bringup openarmx.bimanual.launch.py \
    right_can_interface:=can2 \
    left_can_interface:=can3 \
    control_mode:=mit \
    robot_controller:=forward_position_controller
Terminal 2: Start the teleoperation node
Choose one mode based on your actual situation: non-gravity compensation or gravity compensation:
Non-gravity compensation mode
Use this when the leader-side arm is lightweight and easy to drag.
cd ~/openarmx_ws
source install/setup.bash
ros2 launch openarmx_teleop_bimanual teleop_bimanual.launch.py
Optional parameters:
| Parameter | Default | Description |
|---|---|---|
leader_right_can |
can0 |
CAN interface of the leader right arm |
leader_left_can |
can1 |
CAN interface of the leader left arm |
follower_right_prefix |
right |
Prefix for the follower right arm |
follower_left_prefix |
left |
Prefix for the follower left arm |
control_rate_hz |
200 |
Control loop frequency (Hz) |
Gravity compensation mode
Use this when the leader-side arm is heavier and hard to drag, which can effectively reduce operator fatigue. Generate the URDF first, then start the node:
cd ~/openarmx_ws
source install/setup.bash

# Step 1: Generate URDF
xacro ./src/openarmx_description/urdf/robot/v10.urdf.xacro \
    arm_type:=v10 bimanual:=true > /tmp/v10_bimanual.urdf

# Step 2: Start teleoperation node with gravity compensation
ros2 launch openarmx_teleop_bimanual teleop_bimanual_with_gravitycomp.launch.py
Optional parameters:
| Parameter | Default | Description |
|---|---|---|
leader_urdf_path |
/tmp/v10_bimanual.urdf |
URDF file path |
control_rate_hz |
300 |
Control frequency (Hz) |
g_scale |
0.9 |
Gravity compensation scale factor |
kd_damp |
0.0 |
Damping coefficient |
kp_hold |
0.0 |
Position hold stiffness |
vel_hold_thresh |
0.02 |
Velocity hold threshold (rad/s) |
Mode selection: If dragging feels difficult -> gravity compensation mode; if dragging is smooth -> non-gravity compensation mode.
2. Data Collection
Terminal 3: Start publishing three cameras
cd ~/openarmx_ws
source install/setup.bash
W=424; H=240; FPS=30
ros2 launch openarmx_lerobot camera_publisher.launch.py \
  width:=$W height:=$H fps:=$FPS \
  cam_left_serial:=左手序列号 cam_left_type:=D405 \
  cam_right_serial:=右手序列号 cam_right_type:=D405 \
  cam_head_serial:=头部序列号 cam_head_type:=D435
Query camera serial numbers (output is ordered as left, center, right; use the Serial Number field, do not use Asic Serial Number):
| D405 | D435 |
|---|---|
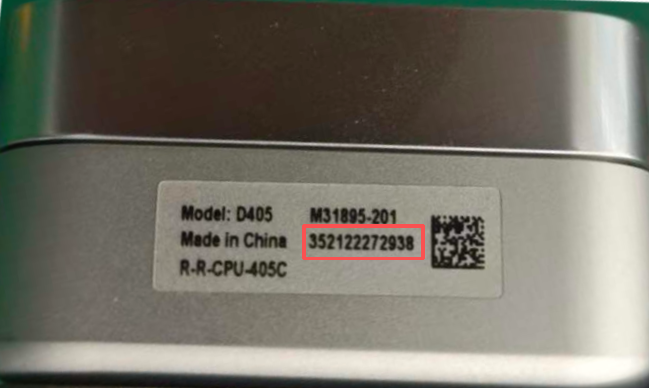 |
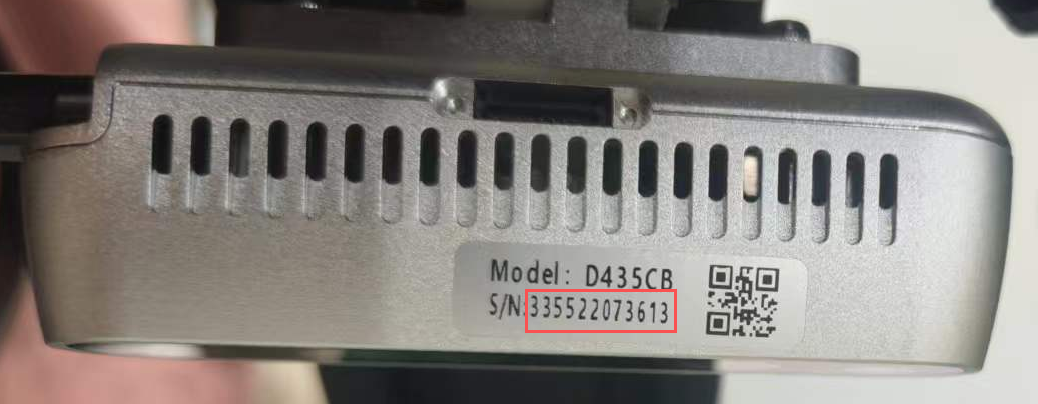 |
rs-enumerate-devices | grep "Serial Number"
Note:
width/height/fpsmust be exactly the same as the later LeRobot collection command.
Check camera feeds (optional)
rqt
Plugins -> Visualization -> Image View -> Add three camera topics
Three camera topics: /cam_left/color/image, /cam_right/color/image, /cam_head/color/image
Terminal 4: Start LeRobot collection
Enter the LeRobot environment first, then run the recording command:
W/H/FPSconfigures camera resolution and frame rate during collection (for example,W=640; H=480; FPS=30).W/H/FPShere must be exactly the same aswidth/height/fpsincamera_publisher.launch.py.- After changing W/H/FPS in the camera publisher node, also change W/H/FPS in the data collection command to match; otherwise, camera format mismatch will cause errors.
🚨 Key constraint:
collection W/H/FPS=camera publish width/height/fps. Default save path:~/.cache/huggingface/lerobot/localIf batch collection fails, delete the folder with the same name under
localand rerun collection. If you do not delete it, an error will occur and collection will fail.
General template:
lerobot-env  # Enter lerobot environment
W=424; H=240; FPS=15
HF_HUB_OFFLINE=1 lerobot-record \
  --robot.type=openarmx_follower_ros2 \
  --robot.cameras="{cam_left: {type: ros2, image_topic: /cam_left/color/image, depth_topic: /cam_left/depth/image, use_depth: true, width: $W, height: $H, fps: $FPS}, cam_right: {type: ros2, image_topic: /cam_right/color/image, depth_topic: /cam_right/depth/image, use_depth: true, width: $W, height: $H, fps: $FPS}, cam_head: {type: ros2, image_topic: /cam_head/color/image, depth_topic: /cam_head/depth/image, use_depth: true, width: $W, height: $H, fps: $FPS}}" \
  --teleop.type=openarmx_leader_ros2 \
  --dataset.repo_id=local/你的数据名称 \
  --dataset.single_task="你执行的任务描述" \
  --dataset.num_episodes=采集的总组数 \
  --dataset.episode_time_s=每组时长秒数 \
  --dataset.reset_time_s=组间重置时长秒数 \
  --dataset.push_to_hub=false \
  --display_data=true
Example:
lerobot-env  # Enter lerobot environment
W=424; H=240; FPS=15
HF_HUB_OFFLINE=1 lerobot-record \
  --robot.type=openarmx_follower_ros2 \
  --robot.cameras="{cam_left: {type: ros2, image_topic: /cam_left/color/image, depth_topic: /cam_left/depth/image, use_depth: true, width: $W, height: $H, fps: $FPS}, cam_right: {type: ros2, image_topic: /cam_right/color/image, depth_topic: /cam_right/depth/image, use_depth: true, width: $W, height: $H, fps: $FPS}, cam_head: {type: ros2, image_topic: /cam_head/color/image, depth_topic: /cam_head/depth/image, use_depth: true, width: $W, height: $H, fps: $FPS}}" \
  --teleop.type=openarmx_leader_ros2 \
  --dataset.repo_id=local/act_tg_100 \
  --dataset.single_task="tg_100" \
  --dataset.num_episodes=100 \
  --dataset.episode_time_s=60 \
  --dataset.reset_time_s=6 \
  --dataset.push_to_hub=false \
  --display_data=true
⌨️ Collection Shortcuts
| Key | Action |
|---|---|
→ Right Arrow |
End and save current episode |
← Left Arrow |
Discard current episode and re-record |
Esc |
Stop recording and exit |
Note: The example shows a 60-second single-episode duration. If you complete the task within 60 seconds, press → Right Arrow to save data; if you do not press it, data is auto-saved after 60 seconds. If collection is wrong, you can press ← Left Arrow to discard the current wrong data, but you must discard before 60 seconds; otherwise, wrong data will be auto-saved. Also, collection cannot be paused during the collection stage. If the dataset is large, alternating operators is recommended.
🔍 Common Parameter Descriptions
| Parameter | Description |
|---|---|
--dataset.repo_id |
Dataset name, e.g. local/tg_100 |
--dataset.single_task |
Task description text |
--dataset.num_episodes |
Total number of episodes |
--dataset.episode_time_s |
Max duration per episode (seconds) |
--dataset.reset_time_s |
Scene reset duration between episodes (seconds) |
--display_data |
Whether to enable visualization/debug display |
--dataset.root |
Custom dataset save directory |
--dataset.vcodec |
Video codec, options: h264, hevc, libsvtav1 |
📷 Camera Parameter Reference
Available Resolution / Frame Rate Combinations
Intel RealSense D405
| Resolution | Supported FPS |
|---|---|
| 1280 × 720 | 5, 15, 30 |
| 848 × 480 | 5, 15, 30, 60, 90 |
| 640 × 480 | 5, 15, 30, 60, 90 |
| 640 × 360 | 5, 15, 30, 60, 90 |
| 480 × 270 | 5, 15, 30, 60, 90 |
| 424 × 240 | 5, 15, 30, 60, 90 |
Intel RealSense D435 / D435i
| Resolution | Supported FPS |
|---|---|
| 1920 × 1080 | 6, 15, 30 |
| 1280 × 720 | 6, 15, 30 |
| 848 × 480 | 6, 15, 30, 60, 90 |
| 640 × 480 | 6, 15, 30, 60, 90 |
| 640 × 360 | 6, 15, 30, 60, 90 |
| 480 × 270 | 6, 15, 30, 60, 90 |
| 424 × 240 | 6, 15, 30, 60, 90 |
With the standard industrial PC + standard expansion hub, the stable upper limit for three cameras is
640×480 @ 30fps. The default recommendation is424×240 @ 15fpsfor lower bandwidth usage and better stability.
Color Parameter Adjustment
You can append the following parameters when launching camera_publisher.launch.py (* replaced with cam_left / cam_right / cam_head):
| Parameter | Description | Range / Values |
|---|---|---|
cam_*_color_auto_exposure |
Auto exposure | true / false / unset |
cam_*_color_exposure |
Manual exposure | 1..10000 |
cam_*_color_gain |
Manual gain | 0..128 |
cam_*_color_auto_white_balance |
Auto white balance | true / false / unset |
cam_*_color_white_balance |
Manual white balance | 2800..6500 |
cam_*_color_brightness |
Brightness | -64..64 |
cam_*_color_contrast |
Contrast | 0..100 |
cam_*_color_saturation |
Saturation | 0..100 |
cam_*_color_sharpness |
Sharpness | 0..100 |
If only
cam_*_color_exposureorcam_*_color_gainis provided, launch will automatically addcam_*_color_auto_exposure:=false; if onlycam_*_color_white_balanceis provided, it will automatically addcam_*_color_auto_white_balance:=false.
🧠 Practical Recommendations
- First validate the full pipeline with a small batch (10-20 episodes), then run long-duration collection; at least 50 episodes is recommended
- Camera
width/height/fpsmust be exactly consistent across collection, training, and inference - Keep camera exposure and camera placement consistent to reduce training distribution drift
- Create a separate
repo_idfor each task to simplify later training and reproduction