🚀 Quick Start Guide
This guide helps you complete the basic setup and first run of the OpenArmX bimanual robot.
⚠️ Read Before You Start
Please read this guide carefully before operating OpenArmX. Operate safely and at your own risk.
- Read the Safety Statement first
- Make sure a hardware emergency stop button is available
- First-time use should be supervised by professional personnel
- Do not use this product if the above requirements are not met
📞 If you encounter issues during operation, contact Technical Support.
📦 User-Provided Items
Prepare the following items before unboxing.
| No. | Item | Image | Notes |
|---|---|---|---|
| 1 | G Clamp |  |
At least 2 for fixing the robot arm to the desk |
| 2 | Monitor | 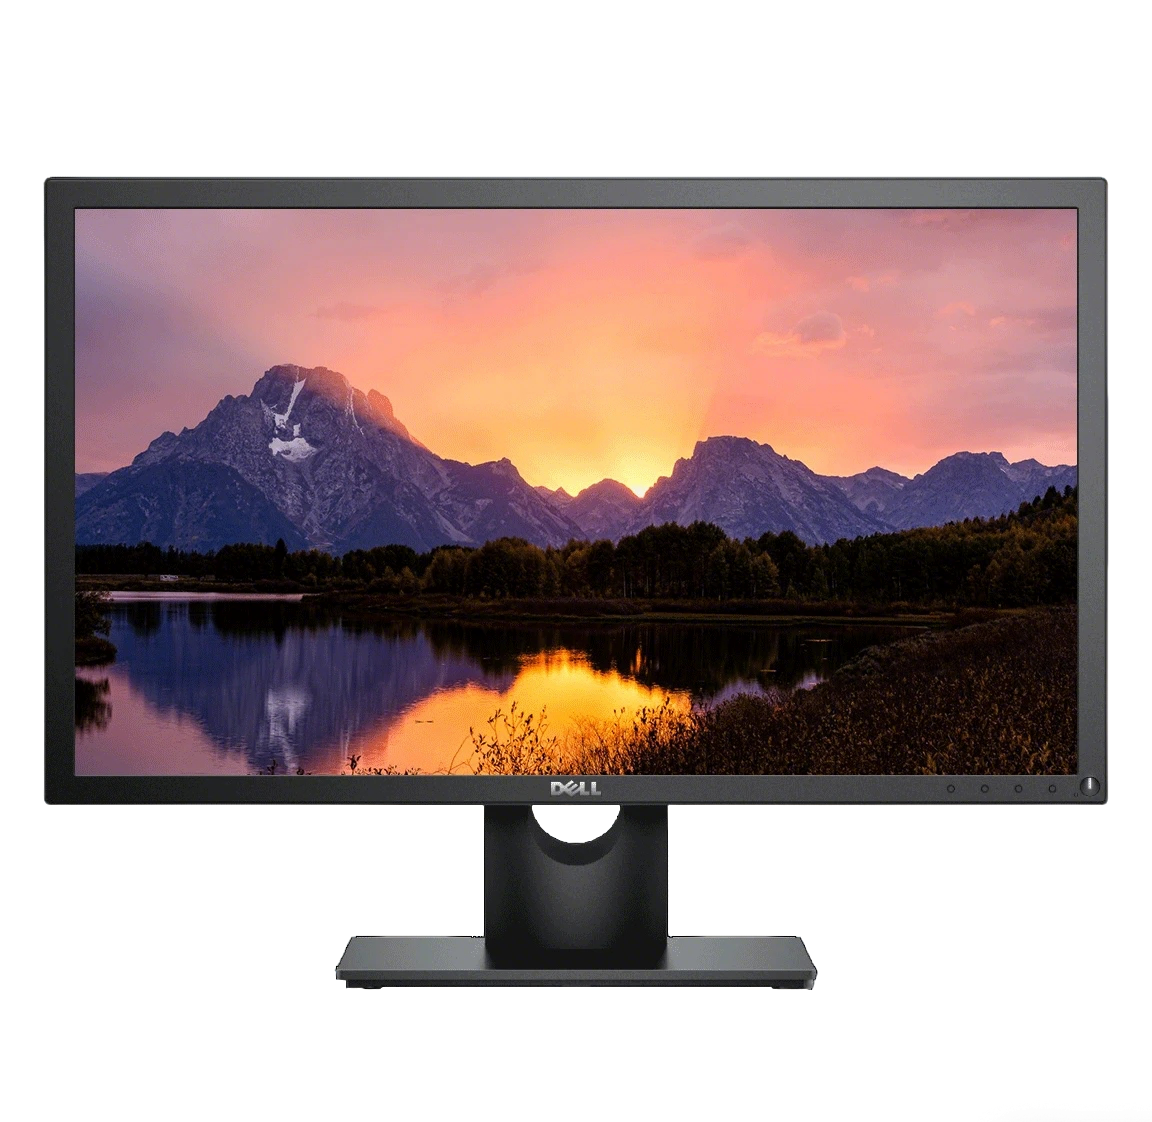 |
For debugging and visualization |
| 3 | HDMI Cable |  |
Connects the host computer and monitor |
| 4 | Keyboard & Mouse |  |
For operating the host computer |
🎯 Unboxing and Self-Check Guide
This section guides you through safe and systematic verification from unboxing to basic functional checks, confirming that the robot is ready for development.
⚠️ Safety Preparation and Unboxing
Principle: Inspect first, power on later; keep static first, then move step by step.
- Environment: Clean, dry, flat, and stable tabletop
- Handling: Hold the main robot structure while moving; do not pull cables or single joints
- Power: Do not connect power before completing this stage
📝 Accessory Inventory and Visual Inspection
Take out each item and inspect against the table below.
| No. | Item | Image | Qty | Inspection Points |
|---|---|---|---|---|
| 1 | Packaging Box |  |
1 | No outer damage, moisture, or crushing deformation |
| 2 | Robot Main Body |  |
1 | No deformation, cracks, or deep scratches |
| 3 | 48V Power Adapter | 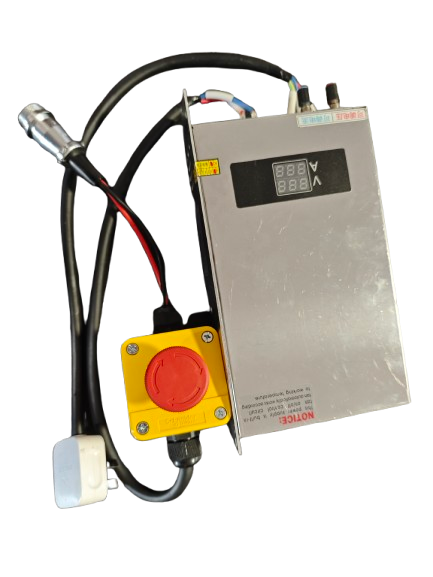 |
1 | Correct voltage label, no cable damage |
| 4 | PCAN-USB Adapter |  |
1 | USB metal contacts not bent or corroded |
| 5 | CAN Communication Cable | 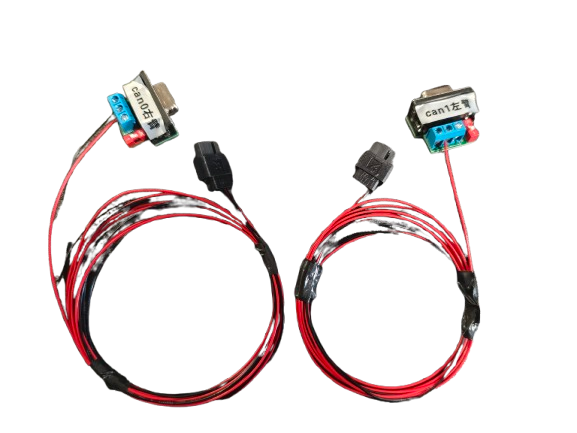 |
2 | Pre-installed on the robot body!! ⚠️ Handle carefully during removal; cables may tangle. End latches intact, cable body not squeezed |
| 6 | Power Cable | 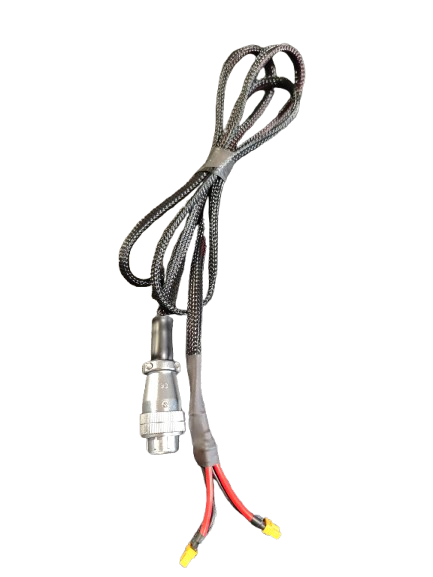 |
1 | Pre-installed on the robot body!! Check plug for burn marks and insulation damage |
📦 Unboxing and Hardware Wiring Video
Video in production, coming soon!
ℹ️ Found an issue? Stop immediately and do not power on. Take photos of the problem area, outer box, and serial-number label, keep everything as-is, and contact Technical Support.
⚡ Step 2: Motor Test
This step verifies whether robot joints are functioning properly.
Video in production, coming soon!
🎯 Step 3: Launch MoveIt
This step verifies that the ROS 2 + MoveIt basic motion-planning pipeline is available, including:
- Whether the robot model (URDF / SRDF) is correct
- Whether the planner can generate an executable joint trajectory
- Whether the planned result can be sent correctly to drive robot motion
Video in production, coming soon!
Note: Mild jitter while using MoveIt to control the robot is normal.
This is because MoveIt is not a low-level real-time controller. Instead, it:
- Discretizes planned trajectories into multiple time points
- Sends them to the robot controller at a fixed frequency
If speed / acceleration / jerk parameters are not well matched, the robot may frequently accelerate and decelerate during motion, which appears as jitter or non-smooth motion.
Mitigation options include:
- Reducing speed and acceleration limits in MoveIt appropriately
- Tuning robot controller PID parameters to improve system stiffness
Please note:
This step only verifies that "basic motion planning is available". It does not mean motion quality, dynamic performance, or engineering-level smoothness has reached the optimum.
If you need higher smoothness or industrial-grade trajectory quality, consider specialized trajectory planning or time-parameterization solutions (for example, time-optimal planning or industrial-controller-based methods).
Or use our robot joint motion control plugin to control robot movement!
✅ Verification Checklist
Complete the checks below to confirm the system is running normally:
| Check Item | Simulation | Real Robot | Notes |
|---|---|---|---|
| CAN interface status | - | ✓ | Single-arm: can0/can1; bimanual: can0~can3 are all UP |
| Motor enable | - | ✓ | No error messages |
| Motor test | - | ✓ | Motor rotates smoothly |
| RViz display | ✓ | ✓ | Robot model displays correctly |
| Motion planning | ✓ | ✓ | Follows planned path |
| Emergency stop button | - | ✓ | Pressing it cuts motor power immediately |
🎉 Congratulations!
You have completed the OpenArmX basic function verification and can now explore more advanced features.
Technical Support
Place technical support details here, such as a WeChat QR code.