⚠️ Safety Guide
Warning: Please read this guide carefully before operating OpenArmX. Use safely and at your own risk.
Before using, installing, or debugging OpenArmX, make sure that:
- You have fully read this brief version and the full safety-related sections;
- You understand potential mechanical, electrical, and software risks;
- You have prepared an effective emergency stop device and necessary personal protective equipment.
🛡️ Safe Operation Requirements
1. 📍 Install in a Safe Location
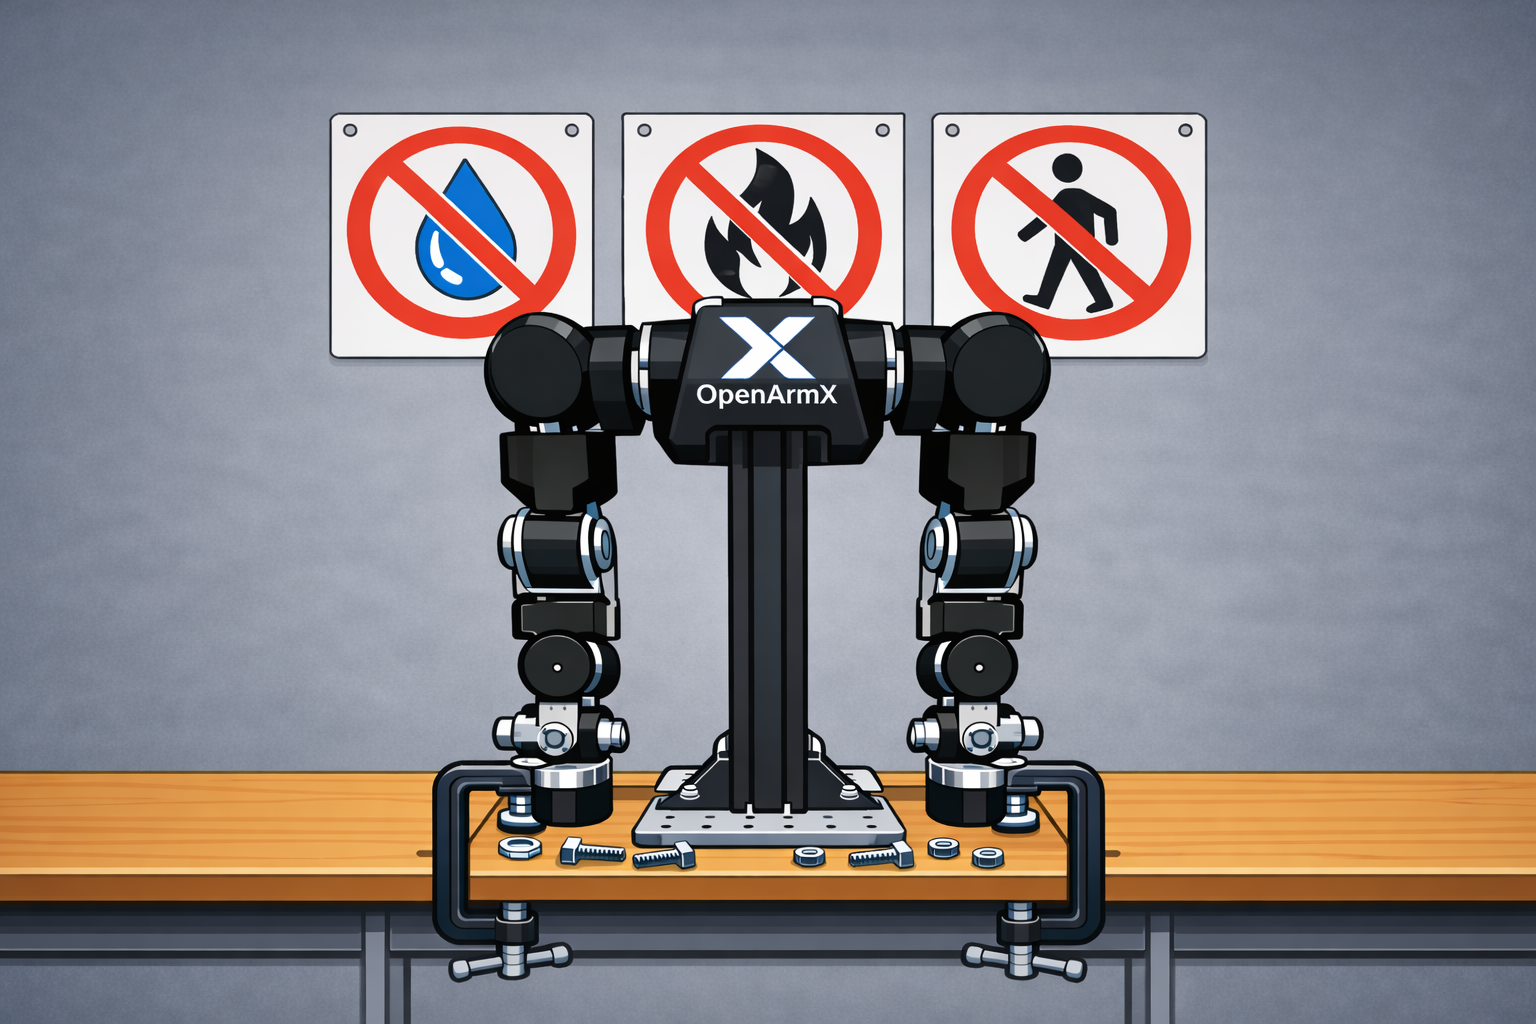
When installing OpenArmX, use screws or clamps to securely fix it on a flat and stable surface.
Installation key points:
- ✅ Choose a flat and stable surface
- ✅ Securely fix using screws or clamps
- ❌ Keep away from fragile objects and flammable materials
- ❌ Keep away from moisture and water sources
- ❌ Avoid areas with frequent pedestrian traffic
2. 📏 Keep a Safe Distance
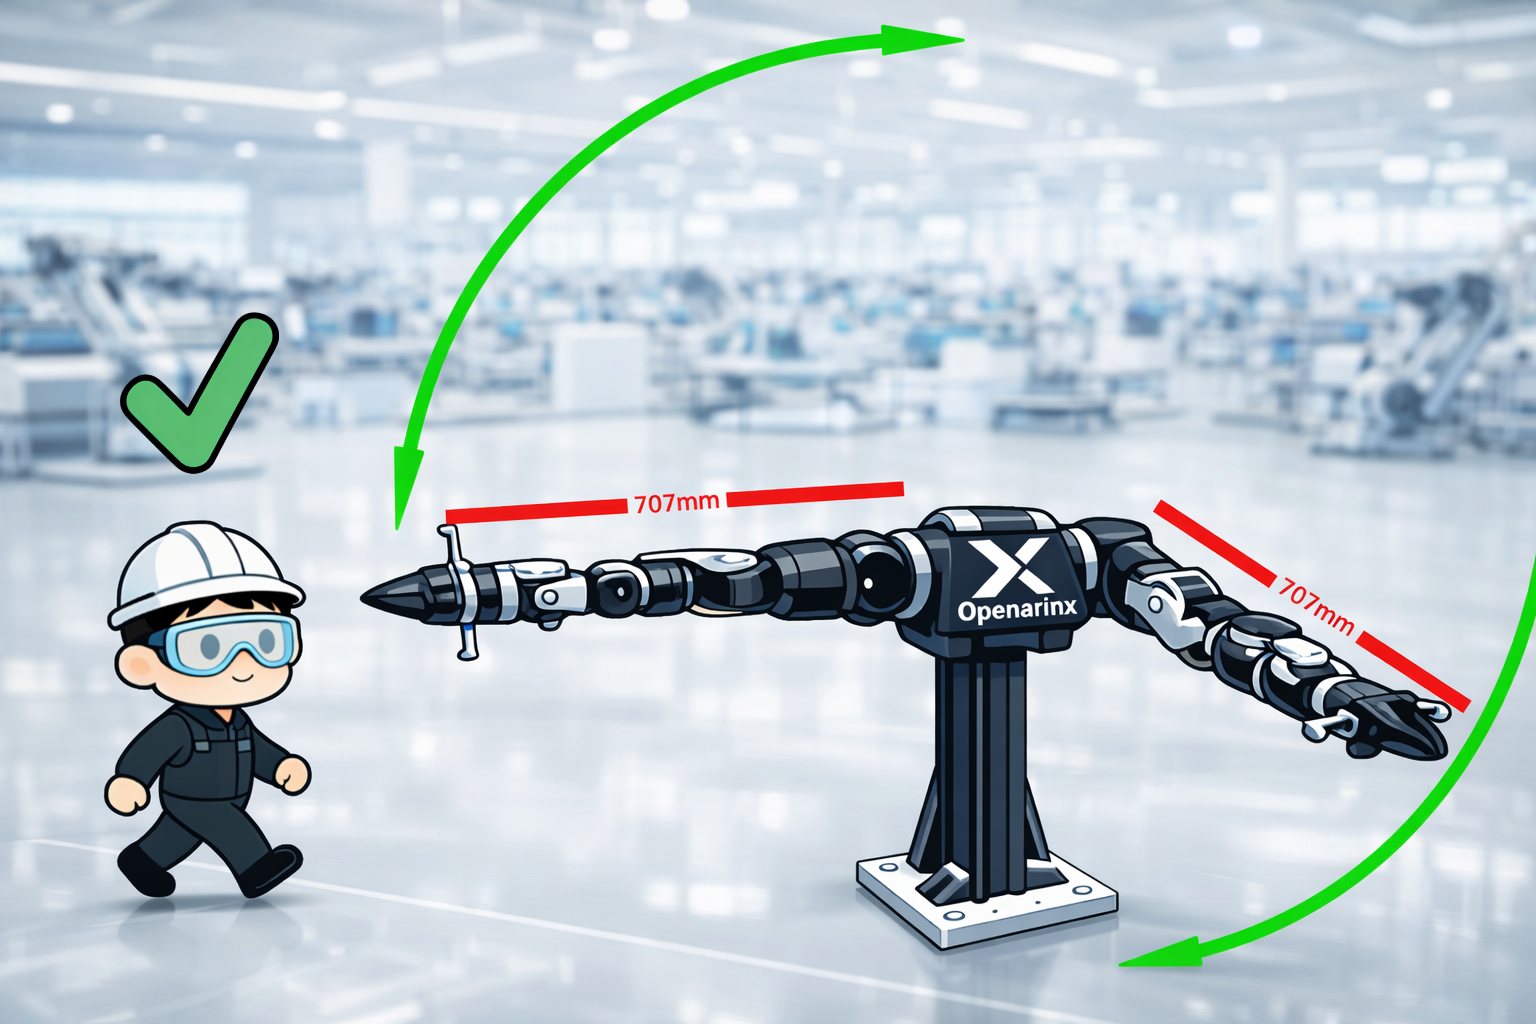
When operating OpenArmX, make sure no part of your body or any object enters its motion range.
Distance requirements:
- 🚫 Stay outside the robot's motion range during operation
- 🔌 Confirm power is OFF before making adjustments
- 👥 Ensure nearby personnel do not accidentally turn power ON
- 🚧 Use barriers or markings to restrict access when necessary
Warning: The motion range changes when handling large objects or installing original end effectors. Warning: If approaching OpenArmX is unavoidable during teleoperation, keep a safe distance from elbows, shoulders, and protruding end-effector parts to avoid finger pinch injuries.
3. 🥽 Wear Proper PPE

Always wear safety goggles when operating OpenArmX.
Required protective equipment:
- 👓 Safety goggles (mandatory)
- 👷 Safety helmet (recommended)
- 🧤 Protective gloves (when necessary)
- 👞 Safety shoes (recommended)
- 👔 Well-fitted workwear (avoid loose clothing)
When you remotely operate the robot or perform related tasks, wear fitted clothing to avoid entanglement.
4. ⚖️ Operate Within Specified Limits
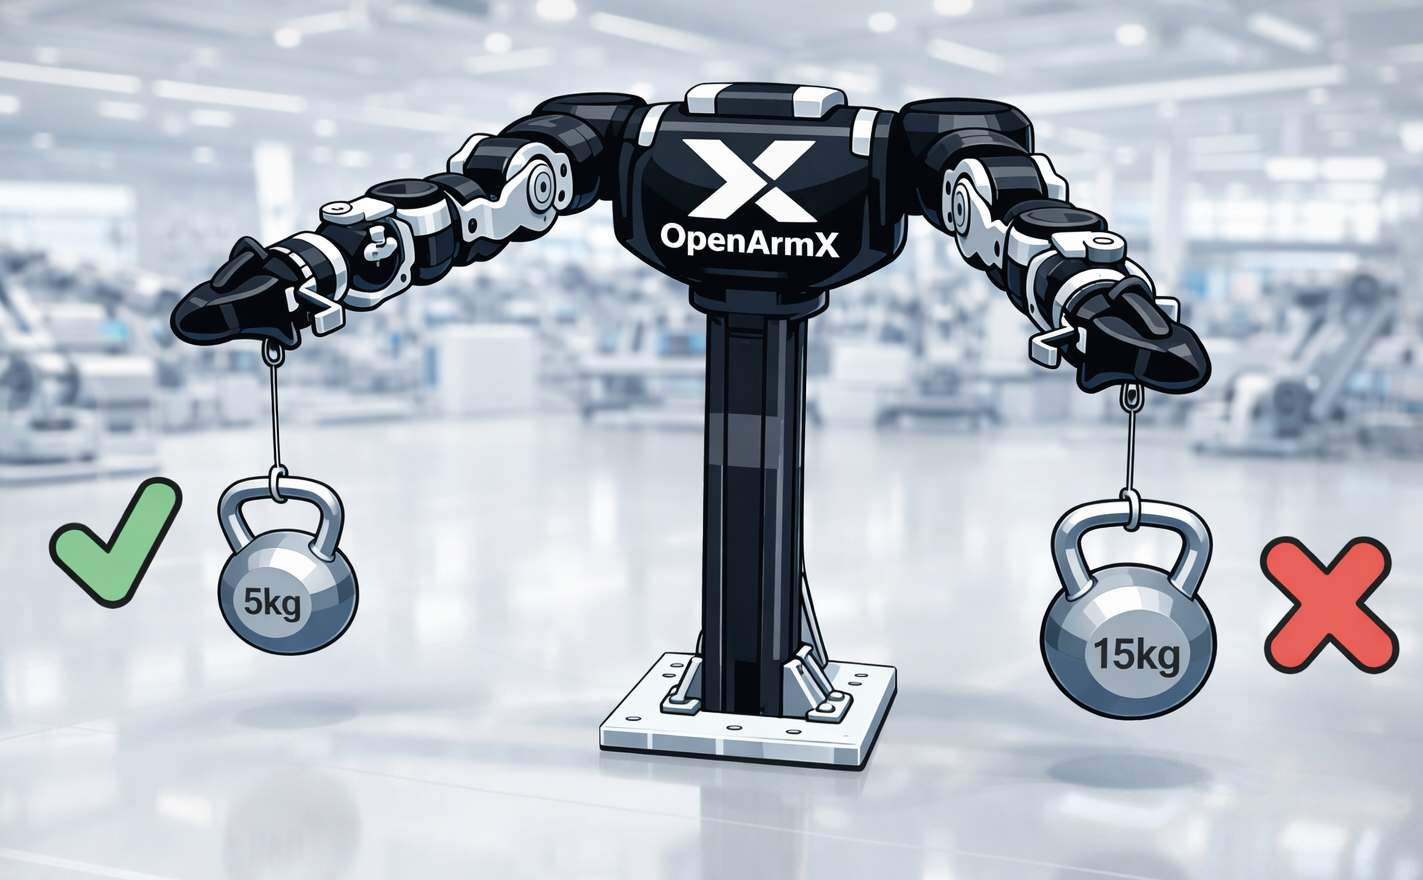
Do not operate OpenArmX beyond the specified payload limits for single-arm or bimanual modes.
Payload limits:
- 📦 Rated playload per single arm: 5 kg in MIT mode, 2 kg in CSP mode.
- 🤝 Rated playload for MIT bimanual collaboration: 8 kg; maximum payload for CSP bimanual collaboration: 5 kg.
- 🔧 Include end-effector weight in payload calculations
- ⚠️ Overload may cause equipment damage or safety accidents
5. 🛑 Prepare Emergency Stop
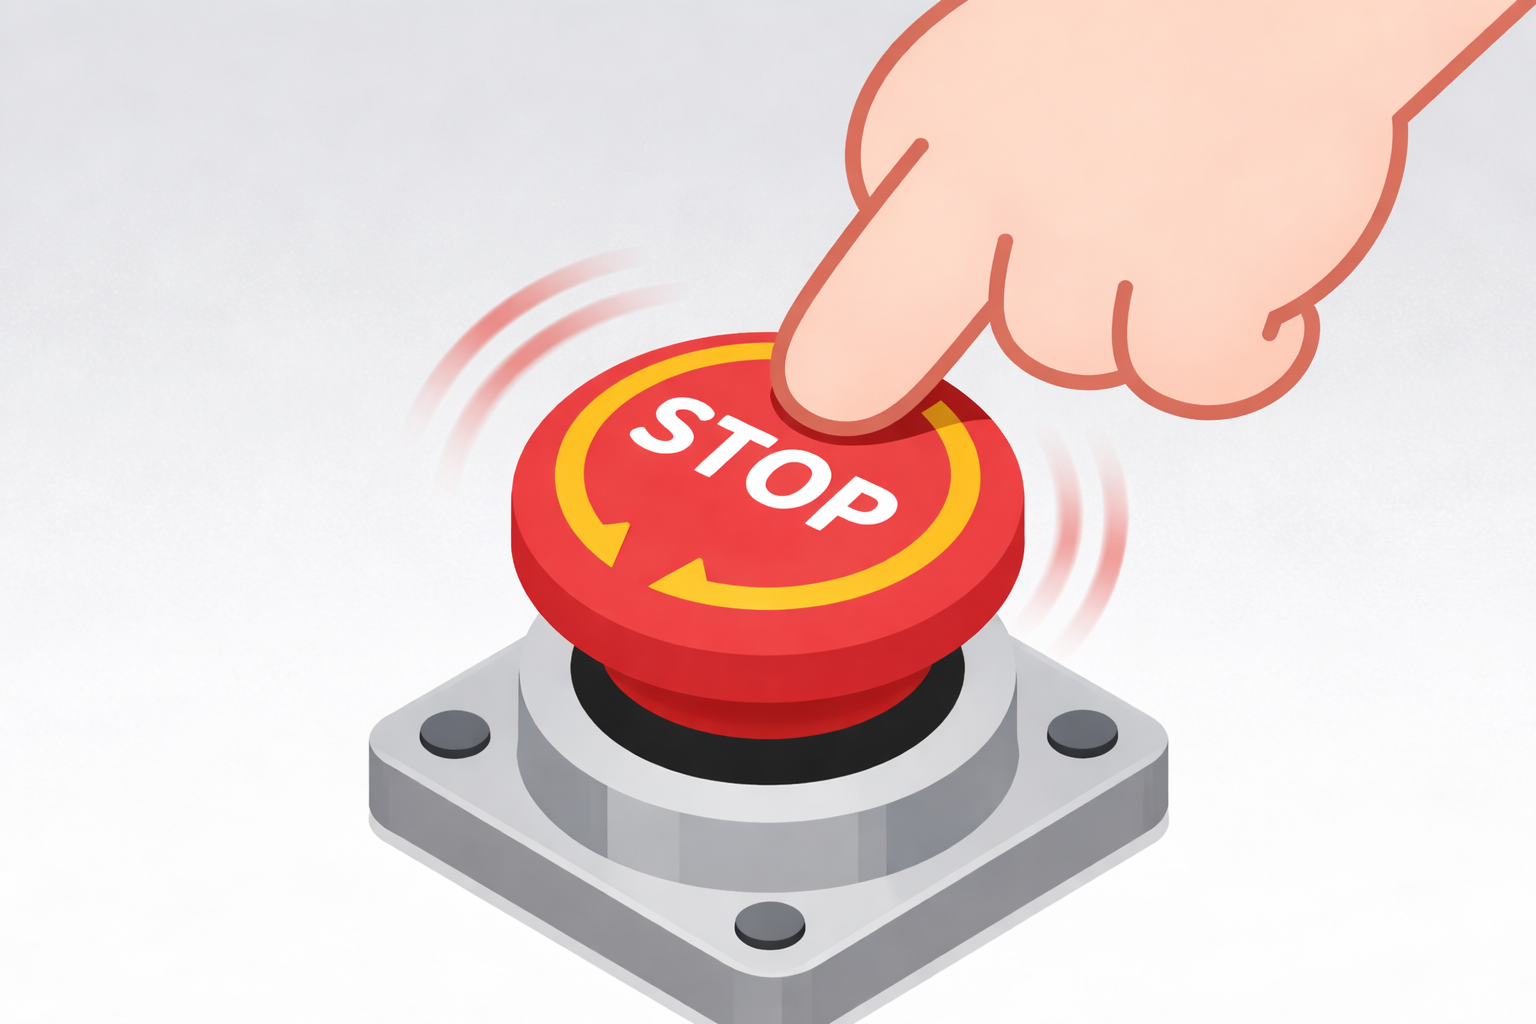
Know the location and operation of emergency stop devices so you can activate them immediately if abnormalities occur.
Emergency stop requirements:
- 📍 A mechanical self-locking hardware emergency stop button is provided; place it in a visible and easily reachable position
- 🏃 All personnel should stay at a sufficiently safe distance from OpenArmX
- 🔄 Test emergency stop function regularly
Warning:
- OpenArmX has strong backdrivability and supports bilateral control.
- Be aware that if power is cut due to emergency stop, the payload may drop rapidly. Ensure nobody is below OpenArmX.
6. 📊 Assess Risks and Improve Continuously
Record and regularly review any hazards or improvement points found during use.
Continuous improvement process:
- 🔍 Identify risks - Discover potential hazards
- 📋 Assess and analyze - Analyze severity
- 📝 Define actions - Develop improvement measures
- ✅ Implement improvements - Execute measures
- 📖 Record and review - Record and review regularly
- 🔄 Monitor and feedback - Continuously monitor effectiveness
Tip: Safety must be continuously improved through all users' cooperation; it is not guaranteed once and for all. By joining the community, you can participate in safety-improvement discussions.
🔧 Safety Maintenance and Inspection
To ensure safe operation of OpenArmX, daily inspection and maintenance are critical. Pay special attention to the points below to detect abnormalities or wear early.
🔩 Loose Base Fasteners and Screws
Risk description:
Repeated motion in certain postures or vibration can cause screws or clamps to loosen unexpectedly. Loose screws around the base or arm joints may cause serious accidents.
Inspection points:
- ✓ Check base fixing screws before each operation
- ✓ Check screws around arm joints
- ✓ Tighten immediately if looseness is found
- ✓ Use a torque wrench periodically to verify fastening force
⚙️ Mechanical Limit Damage
Risk description:
Each joint has mechanical limits to prevent abnormal poses and protect cables. These limits may deform or break under strong impact.
Inspection points:
- ✓ Inspect mechanical limit devices regularly
- ✓ Check for deformation or cracks
- ✓ Verify limit function works properly
- ✓ Replace damaged parts immediately
🔊 Abnormal Noise or Joint Jamming
Risk description:
Overload or collision during operation may cause abnormal noise or joint jamming. This is usually due to deformation of machined/sheet-metal parts, motor gearbox damage, or cable pinching.
Inspection points:
- ✓ Listen for abnormal noises during operation
- ✓ Check whether joint movement is smooth
- ✓ Locate the source of noise or jamming
- ✓ Investigate root cause thoroughly and handle promptly
🔌 Cable and Connector Damage
Risk description:
Repeated sharp bending or improper disconnection can damage cables and connectors. If damaged, OpenArmX may fail to operate correctly and may cause electrical issues such as damage to power or control devices.
Inspection points:
- ✓ Check cables for wear or breakage
- ✓ Check connectors for looseness or deformation
- ✓ Inspect complete wiring from base to end effector
- ✓ Power off immediately and replace damaged components if abnormalities are found
By continuing to install, debug, and use this product, the user is deemed to have read, understood, and accepted all contents of this safety statement, and commits to implementing the above safety measures in real operation. If you have any questions about safety terms or usage methods, contact technical support before use.